Downloading, Installing andRunning JpegSizerThis page provides step-by-step instructions for: This page is long, but most of it is pictures. The procedure is very easy to follow. You might want to print this page for reference as you follow the instructions. Downloading and Installing JpegSizer
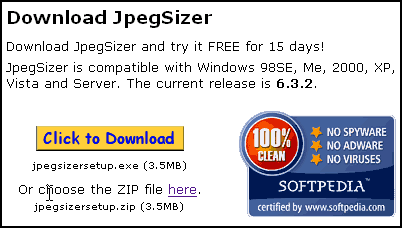
1. If you have an earlier copy of JpegSizer running on your system, exit it now (from the program's File menu, choose Exit). 2. Using your web browser, get the latest JpegSizer installer by visiting this page:
3. Click the Download button near the top of the page. You may see a warning message similar to this:
4. Click the Run button (if offered) or Save button.
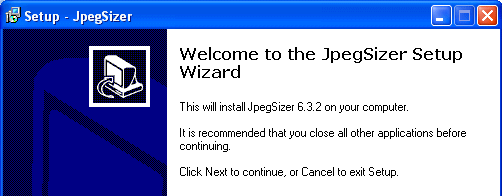
5. The JpegSizer installer will now run.
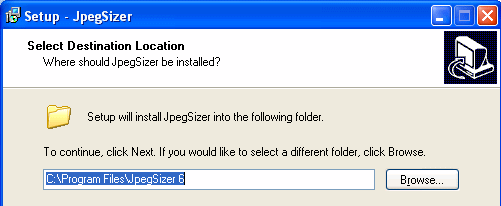
6. In this first installer window, click the Next button. 7. By default, JpegSizer will be installed in the Program Files folder on your system drive (usually C:). If you are using a Windows user account without administrator privileges, the default location will be different.
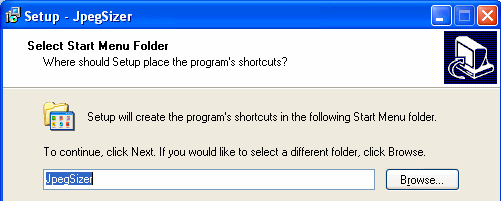
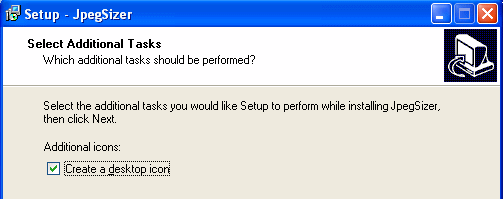
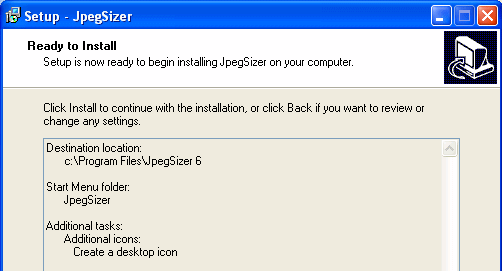
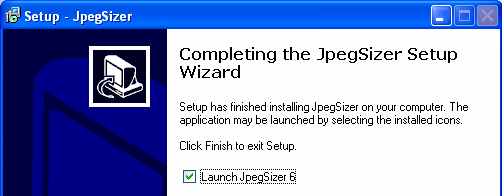
If you'd like to install JpegSizer somewhere else, click the Browse button and locate a suitable folder. 8. Click the Next button. 9. By default, the installer provides access to JpegSizer by clicking the Windows Start button, then choosing Programs and JpegSizer. Normally you don't need to change this. 10. Click the Next button. 12. We strongly recommend that you choose this option to provide easy access to the program: 13. Click the Next button. 14. The installer is now ready to proceed. If you see any errors on the screen, click the Back button to make corrections. 15. When the information is correct, click the Install button. 16. Congratulations! JpegSizer is now installed on your system. 17. If you'd like to use JpegSizer right away, check the box labeled Launch JpegSizer 6. 18. Click the Finish button. 1. Depending on the choices you made when installing JpegSizer, you can run the program using one or more of these methods:
2. JpegSizer is now ready for use. For assistance, refer to the Help menu on the program's main menu bar. Entering Your Registration Code
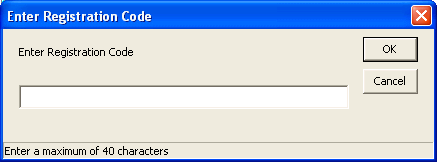
1. To enter your registration code, run the JpegSizer program, then choose Enter Registration Code from the Help menu. 4. Enter your code, taking care to avoid errors. Using copy-and-paste is recommended.
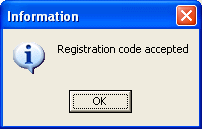
5. After your registration code is accepted, your free trial version of JpegSizer is automatically converted into the paid version you purchased (either Home, Pro or Plus). The paid versions have no expiration date. |
